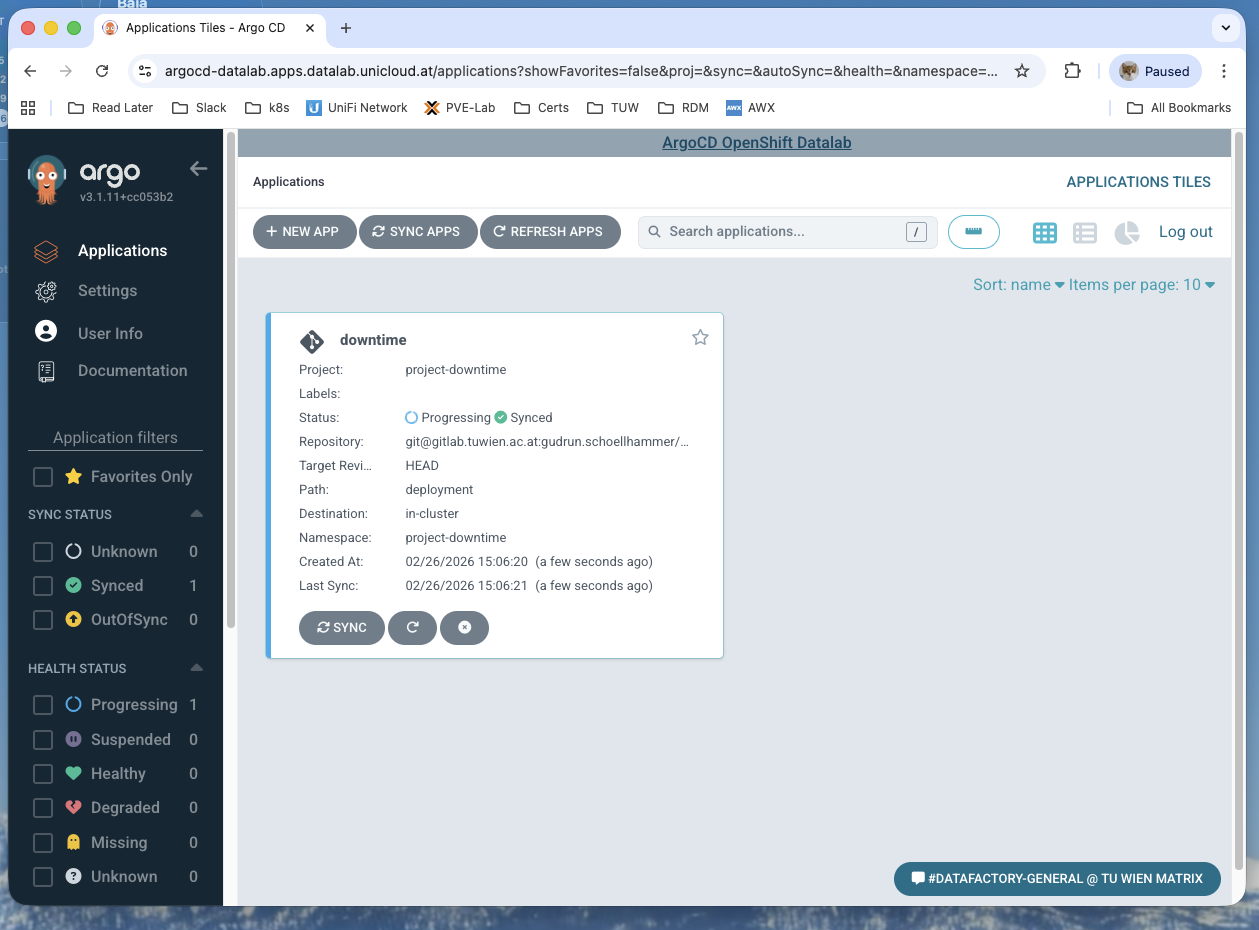
Logging in to ArgoCD
ArgoCD is located at https://argocd-datalab.apps.datalab.unicloud.at/. Click the button LOG IN VIA OPENSHIFT which takes you through the SSO process.
If this is your first visit to ArgoCD, you'll be greeted with an empty dashboard.
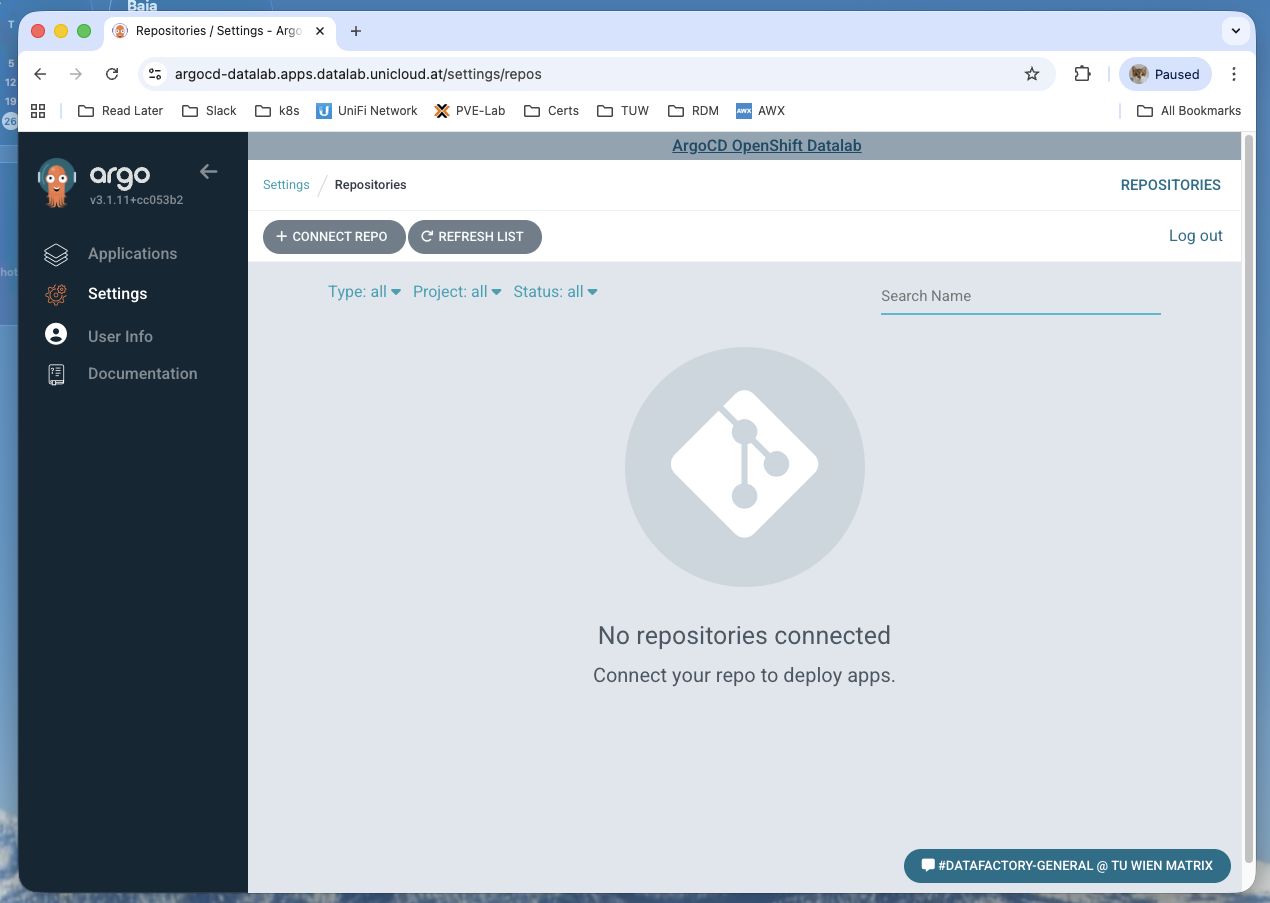
In the menu on the left hand side you'll see the top 3 menu items: 'Applications', 'Settings', and 'User Info'. If you are curious, click on 'User Info' to see what ArgoCD knows about you. It isn't much, but there should be a list of groups, that are used for access control.
Connect your git repo
Click on 'Settings'. ArgoCD will show you all kinds of settings:
- Repositories: connection details for git repos.
- Repository certificates and known hosts: some git repos use SSH keys we do not know yet. Admin-only.
- GnuPG keys: pretty self-explainatory
- Clusters: shows you all clusters this ArgoCD instance is managing. There should be only one entry in the list:
in-clusterwith the strange URL 'https://kubernetes.default.svc'. This is the local cluster. - Projects: ArgoCD projects. These roughly correspond to OpenShift projects. You should see a list of all the projects you have in the local OpenShift cluster.
- Accounts: Admin-only.
- Appearance: If you prefer dark mode...
In 'Settings' click 'Repositories'. Since this is your first visit, you'll see an empty list of connected repositories. Click + CONNECT REPO in the top left corner and fill out the form.
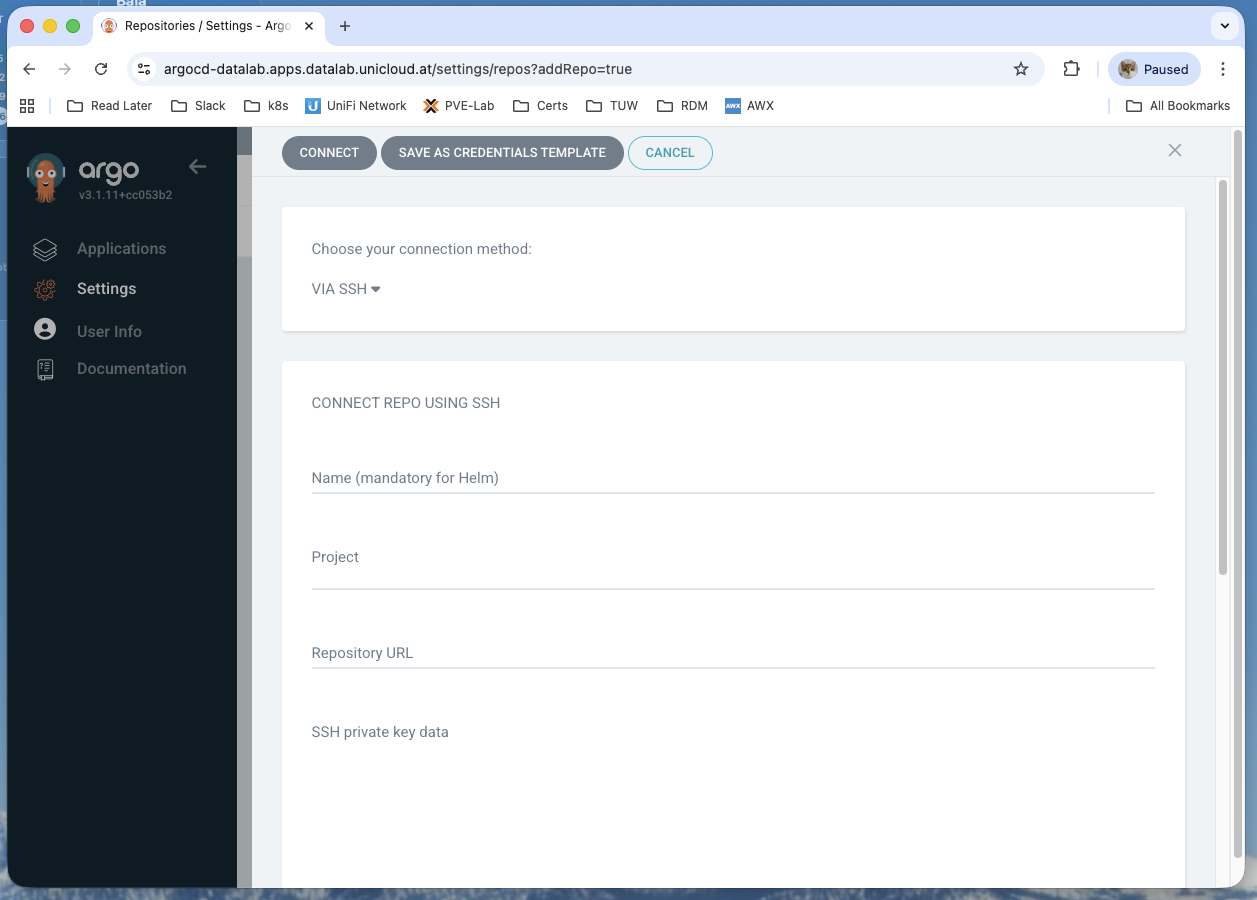
Pick a connection method (HTTPS or SSH). If this won't be your one and only repo, come up with a name that makes it clear which repository you are working on. Save your changes. ArgoCD then brings you back to the list where you should already see the connection status, hopefully green.
Create your first Applications
In the menu on the left hand side click 'Applications' to go back to the dashboard. Click on the '+ NEW APP' button.
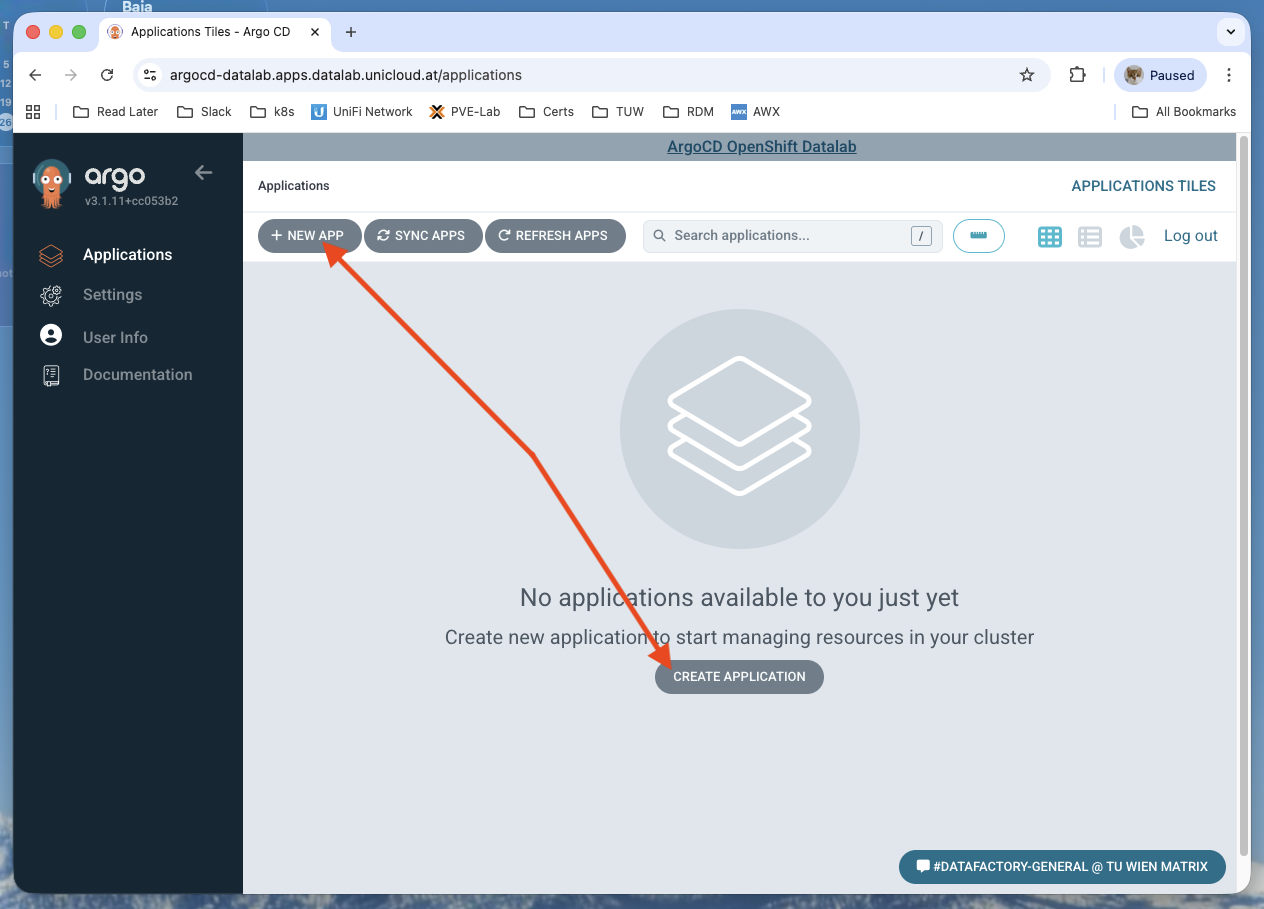
Again, fill out the form. Give the application a name and choose which project you want to deploy it to.
Warning
You must specify the application name as NAMESPACE/APPNAME to create the project in your own namespace.
For example: project-test/myapp.
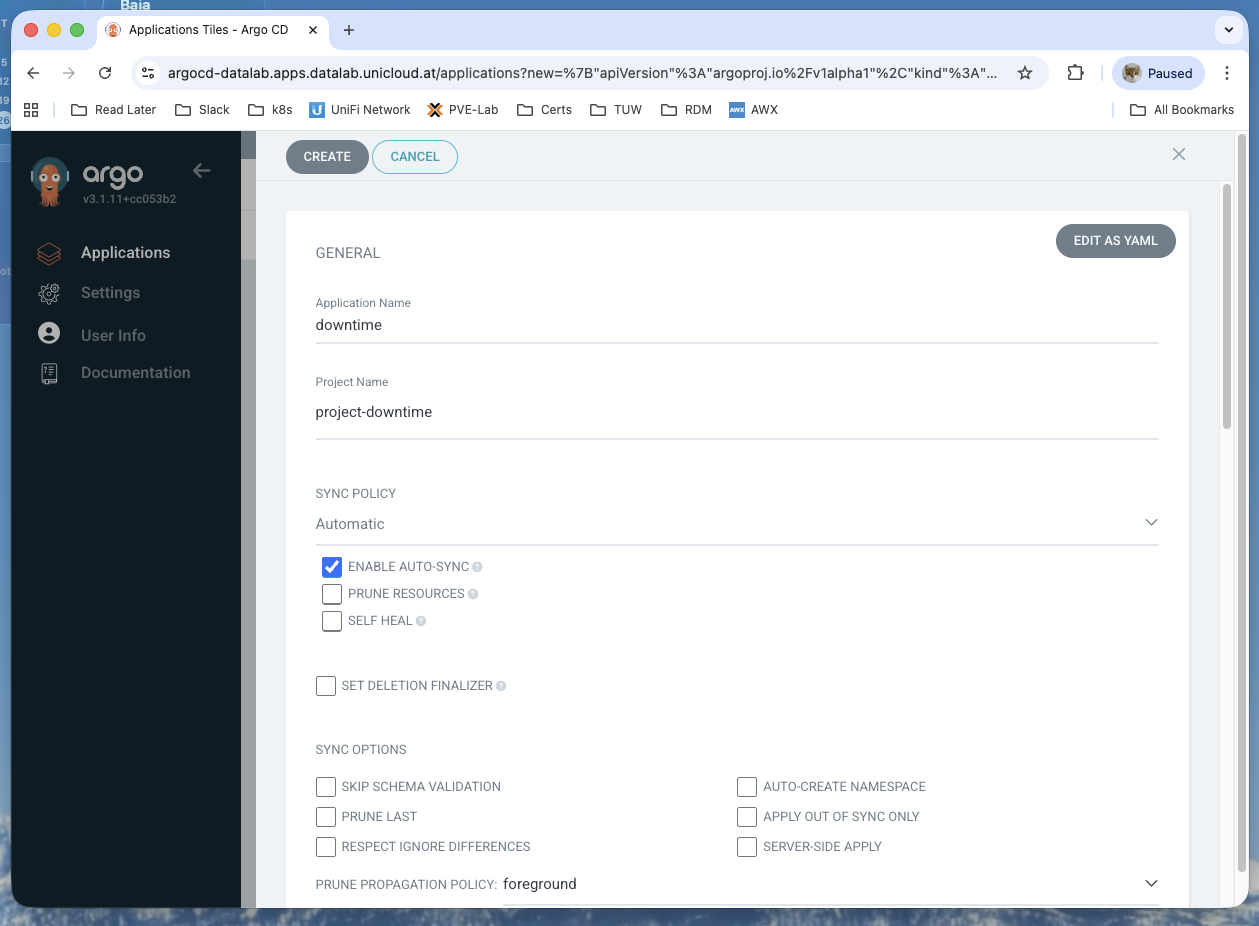
You can either sync your application manually, which basically renders ArgoCD a glorified drift detection tool, or automatic, which lets ArgoCD pull changes from the repo and apply them automatically.
In the next field you pick the repository you just created in step 1 and a path inside the repo.
The destination is pretty self-explainatory: there is only one cluster you can use to deplay your app to, and the namespace is the target OpenShift namespace.
The rest of the options is usually irrelevant, so click 'CREATE'
Are you done now?
When you go back to the dashboard you should now see your shiny new deployment. If everything went right and you chose automatic synchronization, it already has begun to sync and should be done in a few seconds (depending on the application). You'll then see the application with a green heart ('Healthy') and a green checkmark ('Synced') on the dashboard.